Proposals for the evaluation of the evaluation of project implementation are presented here.
4. Neon sign 4.0
The LED-sign should act as an IoT device. On the one hand, it should regulate its own brightness depending on the level of illumination, at the same time it should monitor the presence of persons and transmit all data to the cloud. Also it should be possible to control the sign via smartphone app.
neon sign 4.0
Extend the neon sign with appropriate IoT features. The information section makes suggestions for useful extensions.
3. Programming control
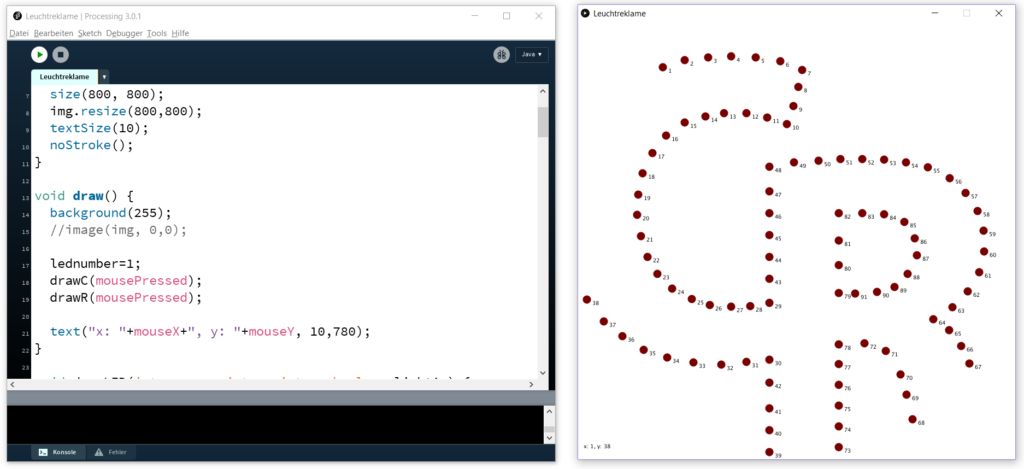
The desired animations can now be realized with almost any microcontroller platform.
microcontroller programming
Create a program to create attractive animations of your LED-Signs for the selected microcontroller platform.
2. Practical construction
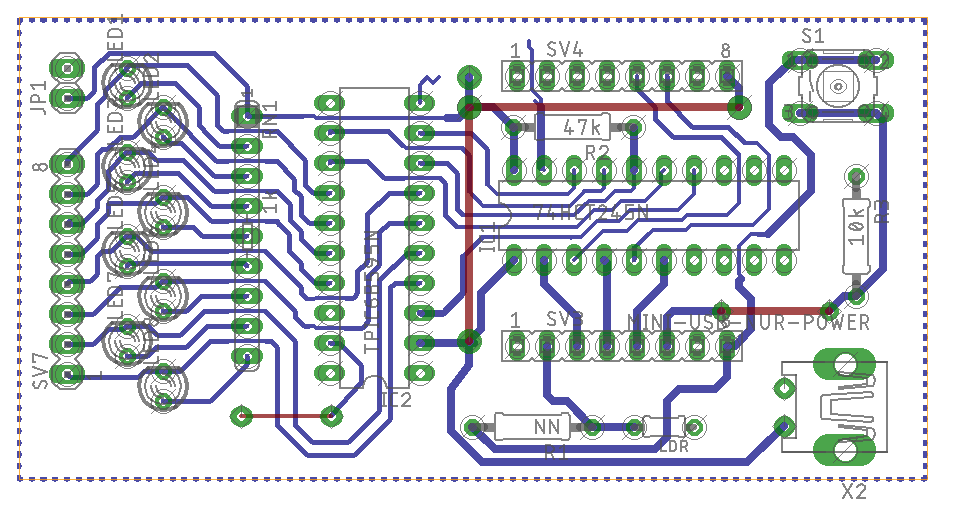
From the simulation, a drilling template can now be produced in a printer-friendly manner.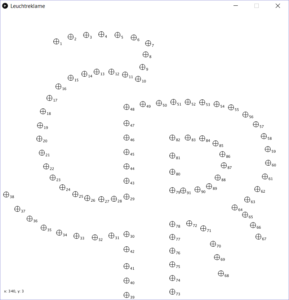
A PCB board has to be assembled.
1. Simulation of the neon sign
The first step is to create a draft of the neon sign in the form of a simulation. To give an idea of possible solutions have a look on these examples of LED-signs.
Development of a LED Sign
The project “Development of a neon sign” is suitable to develop some topics of electronics and current cloud-based content. This project is started in grade 11 of the vocational high school. In class 12 it will be further discussed in the classes specialized on electrical engineering and more advanced technologies for the connection to current cloud systems will be integrated.
Prerequisite
Basics of programming (→ Introduction to Processing)
Basics of microcontroller programming (→ Applications with Arduino)
Basics of electronics (→ Introduction to electronics)
Reachable competences
Implementation of analog and digital sensors
Integration of network devices into a wifi environment
Establish a client-server communication by means of the MQTT protocol