In order to enable the programming of IoT devices even without a line connection, the WMOS microcontroller can also be programmed with little effort over the air (WIFI).
Receiving control commands
In the last chapter, you learned how to send data to the broker.
In the next step, the IoT device should be able to receive data in order to be remotely controlled.
Publish sensor data
After an existing internet connection, the data should now be sent to the cloud. For this the protocol MQTT is used.
Establish Wifi-connection
For the real IoT application, the microcontroller still needs to be able to spark into the network. For this purpose, a WIFI connection is established in the following step.
Connection of a sensor
In the next step, the sensor for the detection of humidity and temperature should be added.
For this project, the popular digital sensor DHT11 or DHT22 (more expensive but more accurate) is used.
Commissioning of the WEMOS D1 Mini
First approach to realize how a microcontroller plattform works is to implement really simple solutions to understand the process of connecting hardware to the board and develop appropriate programs.
Prepare for IoT
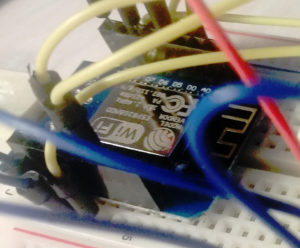 Very suitable for first steps is the extremely inexpensive microcontroller WMOS D1 Mini with integrated WIFI chip of the type ESP-8266EX.
This course will develop a device to record the illuminance, temperature and humidity of a room. Later the control of a fan and a heater should be possible.